
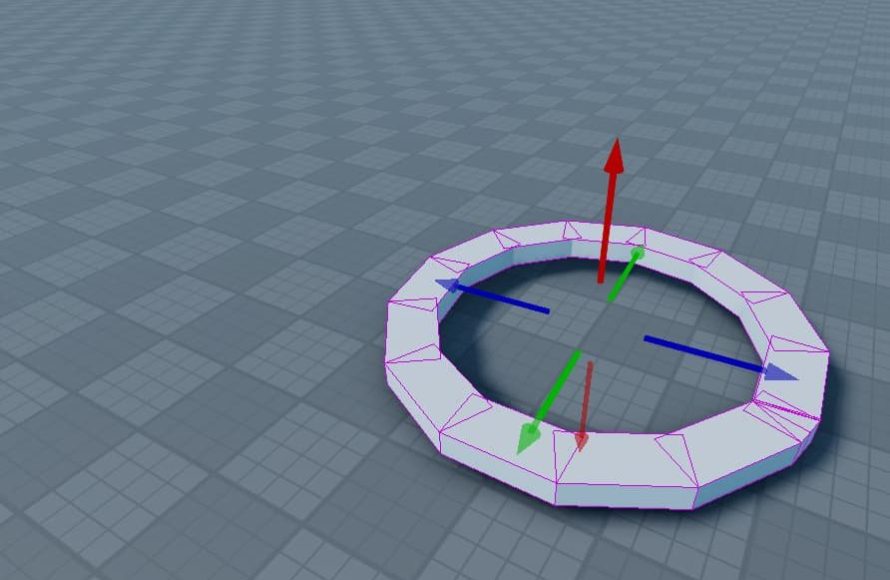
Roblox import and export processes involve using the Studio’s built-in tools to move models, meshes, and other assets between the game environment and external files like FBX or OBJ formats.
Ever wanted to use custom 3D models in your Roblox games or take your creations elsewhere? The process of moving assets in and out of Roblox can seem tricky at first. That’s where a solid understanding of the roblox import and export guide becomes invaluable.
This article provides clear steps on how to get those models working for you, offering a clear pathway to move your creations where you need them. You’ll find simple instructions to make the exchange of items between Roblox and your computer easily.

Roblox Import and Export Guide
Welcome back, Roblox creators! So you’re ready to take your creations to the next level? That means diving into the world of importing and exporting! It might sound a little complicated, but don’t worry. This guide breaks down everything you need to know about getting your models, meshes, and more into and out of Roblox Studio. It’s like having a secret recipe book for your awesome builds!
Understanding the Basics
Before we start moving files around, let’s understand what import and export actually mean in Roblox. Imagine you’re building with LEGOs. Import is like bringing new, pre-made LEGO pieces into your building area. Export is like taking your awesome creation apart, packing it up, and putting it somewhere else. In Roblox, it’s similar – you can bring in 3D models and textures, or take your creations out to use in other software.
Why Import and Export?
You might wonder why bother with this process? Well, think about it:
- Collaboration: Sharing your models and maps with other creators for group projects!
- Advanced Modeling: Building intricate 3D models in professional software, then bringing them into Roblox.
- Backups: Saving copies of your work outside of Roblox.
- Modification: Taking a Roblox creation and modifying it in other 3D programs.
- Community Creations: Using assets and models created by the community, and vice-versa.
File Formats: The Key to Successful Transfers
Okay, let’s talk about file formats. These are like the languages computers use to understand files. If you’re trying to import a file in the wrong format, Roblox will be like, “Huh? I don’t understand this!” Knowing which formats to use is super important. Here are the main ones you’ll be working with in Roblox:
Supported Import Formats
- .FBX (Filmbox): This is a popular format for 3D models, animations, and even textures. It’s one of the best options for moving complex creations between different programs, including advanced software like Blender and Autodesk Maya. Think of it as the ‘universal translator’ for 3D stuff. It carries everything you need to make the model appear the same.
- .OBJ (Wavefront Object): A simpler format for 3D models. Good for simpler shapes, but it might not preserve textures or animations as well as FBX.
- .mesh (Roblox mesh): This is a specific Roblox format for meshes. It’s used for custom 3D shapes created within Roblox Studio or exported from the platform itself.
- .PNG (Portable Network Graphics): For image textures that you apply to surfaces. These are generally used for decals, clothing, and more. It’s a very common image format you are likely already familiar with.
- .JPG/JPEG (Joint Photographic Experts Group): Another common image format for textures. Use this for images where the perfect quality of PNG isn’t needed.
Supported Export Formats
When it comes to exporting from Roblox, you’ll mostly be dealing with these:
- .FBX: As mentioned before, this is a common choice for sending models with their textures and animations.
- .OBJ: This can be used to export simpler models, though you might lose some detail in the process.
- .mesh: For exporting custom meshes that you created within Roblox.
- .rbxm (Roblox model): This format is specific to Roblox. You can use it to save whole models with their scripts and settings. It’s like packaging your creations for easy transfer between your Roblox games and projects.
Importing Assets into Roblox
Now, for the fun part: bringing your external creations into Roblox Studio! Here’s a step-by-step guide on how to import different kinds of files.
Importing 3D Models (.FBX, .OBJ)
- Open Roblox Studio: Fire up your studio and open up the game you want to add your assets in.
- Find the “Import” Option: Look for the “View” tab at the top of Studio. Once you’ve clicked on view, find the “Asset Manager” button on the left of the screen, and click on it. The Asset Manager window should open up.
- Select “Bulk Import” At the top of the Asset Manager window, there should be a blue button that says “Bulk Import”, click this. A window should open up, so go to where you saved your .FBX or .OBJ file and click open.
- Configure the Import Settings: A window should appear, where you can name your imported asset, choose whether to import as a mesh, place where you want to import the asset to in the game, and if you’re importing an FBX, you will also get to select whether you want animations to be imported. Once you’re happy with your settings, press import, and your model will be placed into the game!
- Position and Scale: After importing, your model might not be in the exact spot or size you want. Use the Move and Scale tools in Studio to adjust it to perfection. You can find these tools on the “Home” tab.
Importing Meshes (.mesh)
Importing .mesh files is similar to importing .fbx or .obj files. Simply use the same methods described above for that. Remember that .mesh files are only custom meshes, so they will not have textures, and are much more limited to models that were made in roblox, or previously exported from the platform.
Importing Textures (.PNG, .JPG)
- Go to the Texture section: Open the “Asset Manager” again, then find the “Textures” section. Click this, and you’ll see a window open that allows you to drag and drop texture files into this area.
- Upload the Texture: Simply drag and drop your texture file (.PNG, .JPG) into this area, and it will upload to the platform.
- Use the Texture: The texture is now available for use. To apply it to a part in your game, find the “Properties” tab of the part you want to texture, then in the properties window, you’ll be able to see a place to choose your texture.
- Adjust the Texture: You can change the way the texture is applied using the properties menu. You can change its tiling, colors, and many more things.
Exporting Assets from Roblox
Now, let’s learn how to take your creations from Roblox and use them elsewhere. The process is also easy if you follow the proper steps.
Exporting 3D Models (.FBX, .OBJ)
- Select the Model: In your Roblox game, select the model you want to export. Make sure to group all the parts of your model together.
- Right-click: Right-click on the model in the Explorer window (usually on the right).
- Choose “Export Selection”: In the right click menu, select “Export Selection”.
- Choose a Location: A window should appear, asking where to save your exported file. Choose a folder and save the file. You’ll now have your .FBX or .OBJ file!
Exporting Meshes (.mesh)
Exporting meshes is very similar to exporting any other object, just make sure you select the mesh itself and not any other parts. Export using the same methods described above.
Exporting Roblox Models (.rbxm)
The steps for exporting .rbxm files is the same as exporting .fbx or .obj files, but choose “Save to File” in the export menu.
Tips and Tricks for Seamless Import/Export
Here are some secrets to make your import and export journeys go smoothly:
- Name your assets wisely: Use clear, descriptive names for your models, textures, and files. This makes finding and organizing them much easier.
- Keep your models simple: Very complicated models with lots of details can slow down Roblox and make importing more difficult. It’s often better to create simpler models and add detail using textures.
- Check your model scale: Before importing, make sure your model is the correct size. A tiny model might be unnoticeable and a huge one might break your game.
- Test everything: After importing a model, take some time to move it around and make sure everything is as expected. Test it in your game to ensure it works correctly!
- Be careful with third-party assets: When importing models from external sources, be sure they are safe and do not contain any malicious scripts. If you’re not sure, only import files from reputable sources.
- Always back up: Before you start playing around with importing/exporting or modifying a very important model, always back it up using the “Save to File” option. This creates a copy of your work that you can use in case things go wrong.
- Clean up extra parts: When exporting models with complex parts, remove any unnecessary parts like invisible objects. This makes the model cleaner and easier to work with.
- Use a good 3D modeling software: For the best results, use professional software like Blender, Cinema 4D, or Autodesk Maya. These programs offer powerful tools to make your models look incredible.
- Be mindful of copyright: Only use assets that you created yourself, that you are allowed to use, or are licensed under a Creative Commons or similar license.
Common Issues and Solutions
Sometimes, things don’t always go as planned. Here are some common import/export issues and how to fix them:
Issue: Model Appears Too Big or Too Small
Solution: This often happens when the scale of the model in your external software is very different from Roblox’s scale. In Studio, use the scale tool to fix the model to your desired size. Double-check your 3D software’s measurement units as well. If your model is in centimeters in your 3D modeling software, and Roblox is in meters, then your models might be smaller than you expect.
Issue: Textures Are Missing
Solution: Make sure your textures are in the same folder as your model or are correctly embedded in your .FBX file. Sometimes, Roblox Studio might not correctly detect the path to the texture. You may need to re-add the texture directly in Studio after importing.
Issue: Animations Don’t Import Correctly
Solution: When importing animations, be sure to select the “import animations” checkbox when importing your FBX. Ensure that the animations are properly rigged to your model within your 3D software, or your animations may not import correctly. Animations must also have an armature.
Issue: Import Errors
Solution: If you get an import error, double-check that your file is in one of the supported formats. If it’s not, you’ll need to convert it. It also might be a good idea to try to restart your roblox studio. Always ensure that all software and plugins you’re using is up to date to prevent incompatibilities.
Issue: Mesh is Deformed or Distorted
Solution: This can happen if there are errors or issues with the model itself before importing. Ensure your model is a clean mesh with no overlapping faces. Often, the solution is to redo the model, and try exporting again.
Issue: Exported Model Looks Different
Solution: Sometimes, when exporting to .obj, models can look different as some data is lost. Exporting to .FBX is the best way to preserve as much data as possible, but if you need a different format, always check your model after importing.
There you have it – a complete guide to importing and exporting in Roblox! By now, you should have a good understanding of the steps, tools, and tricks involved in bringing your 3D creations into and out of the platform. Just remember to practice, experiment, and have fun, and you’ll be a pro at importing and exporting in no time!
Importing and Exporting on Roblox/Blender! (FULL GUIDE)
Final Thoughts
In short, understanding the Roblox import and export guide proves vital. Proper use of these features significantly improves your creation workflow. This allows you to move assets between software, benefiting both your designs and efficiency.
The process can seem complex initially, but practice makes perfect. A good understanding of formats is must. By doing this, you will efficiently move assets and enhance your Roblox experience. This guide is essential for developers.

