
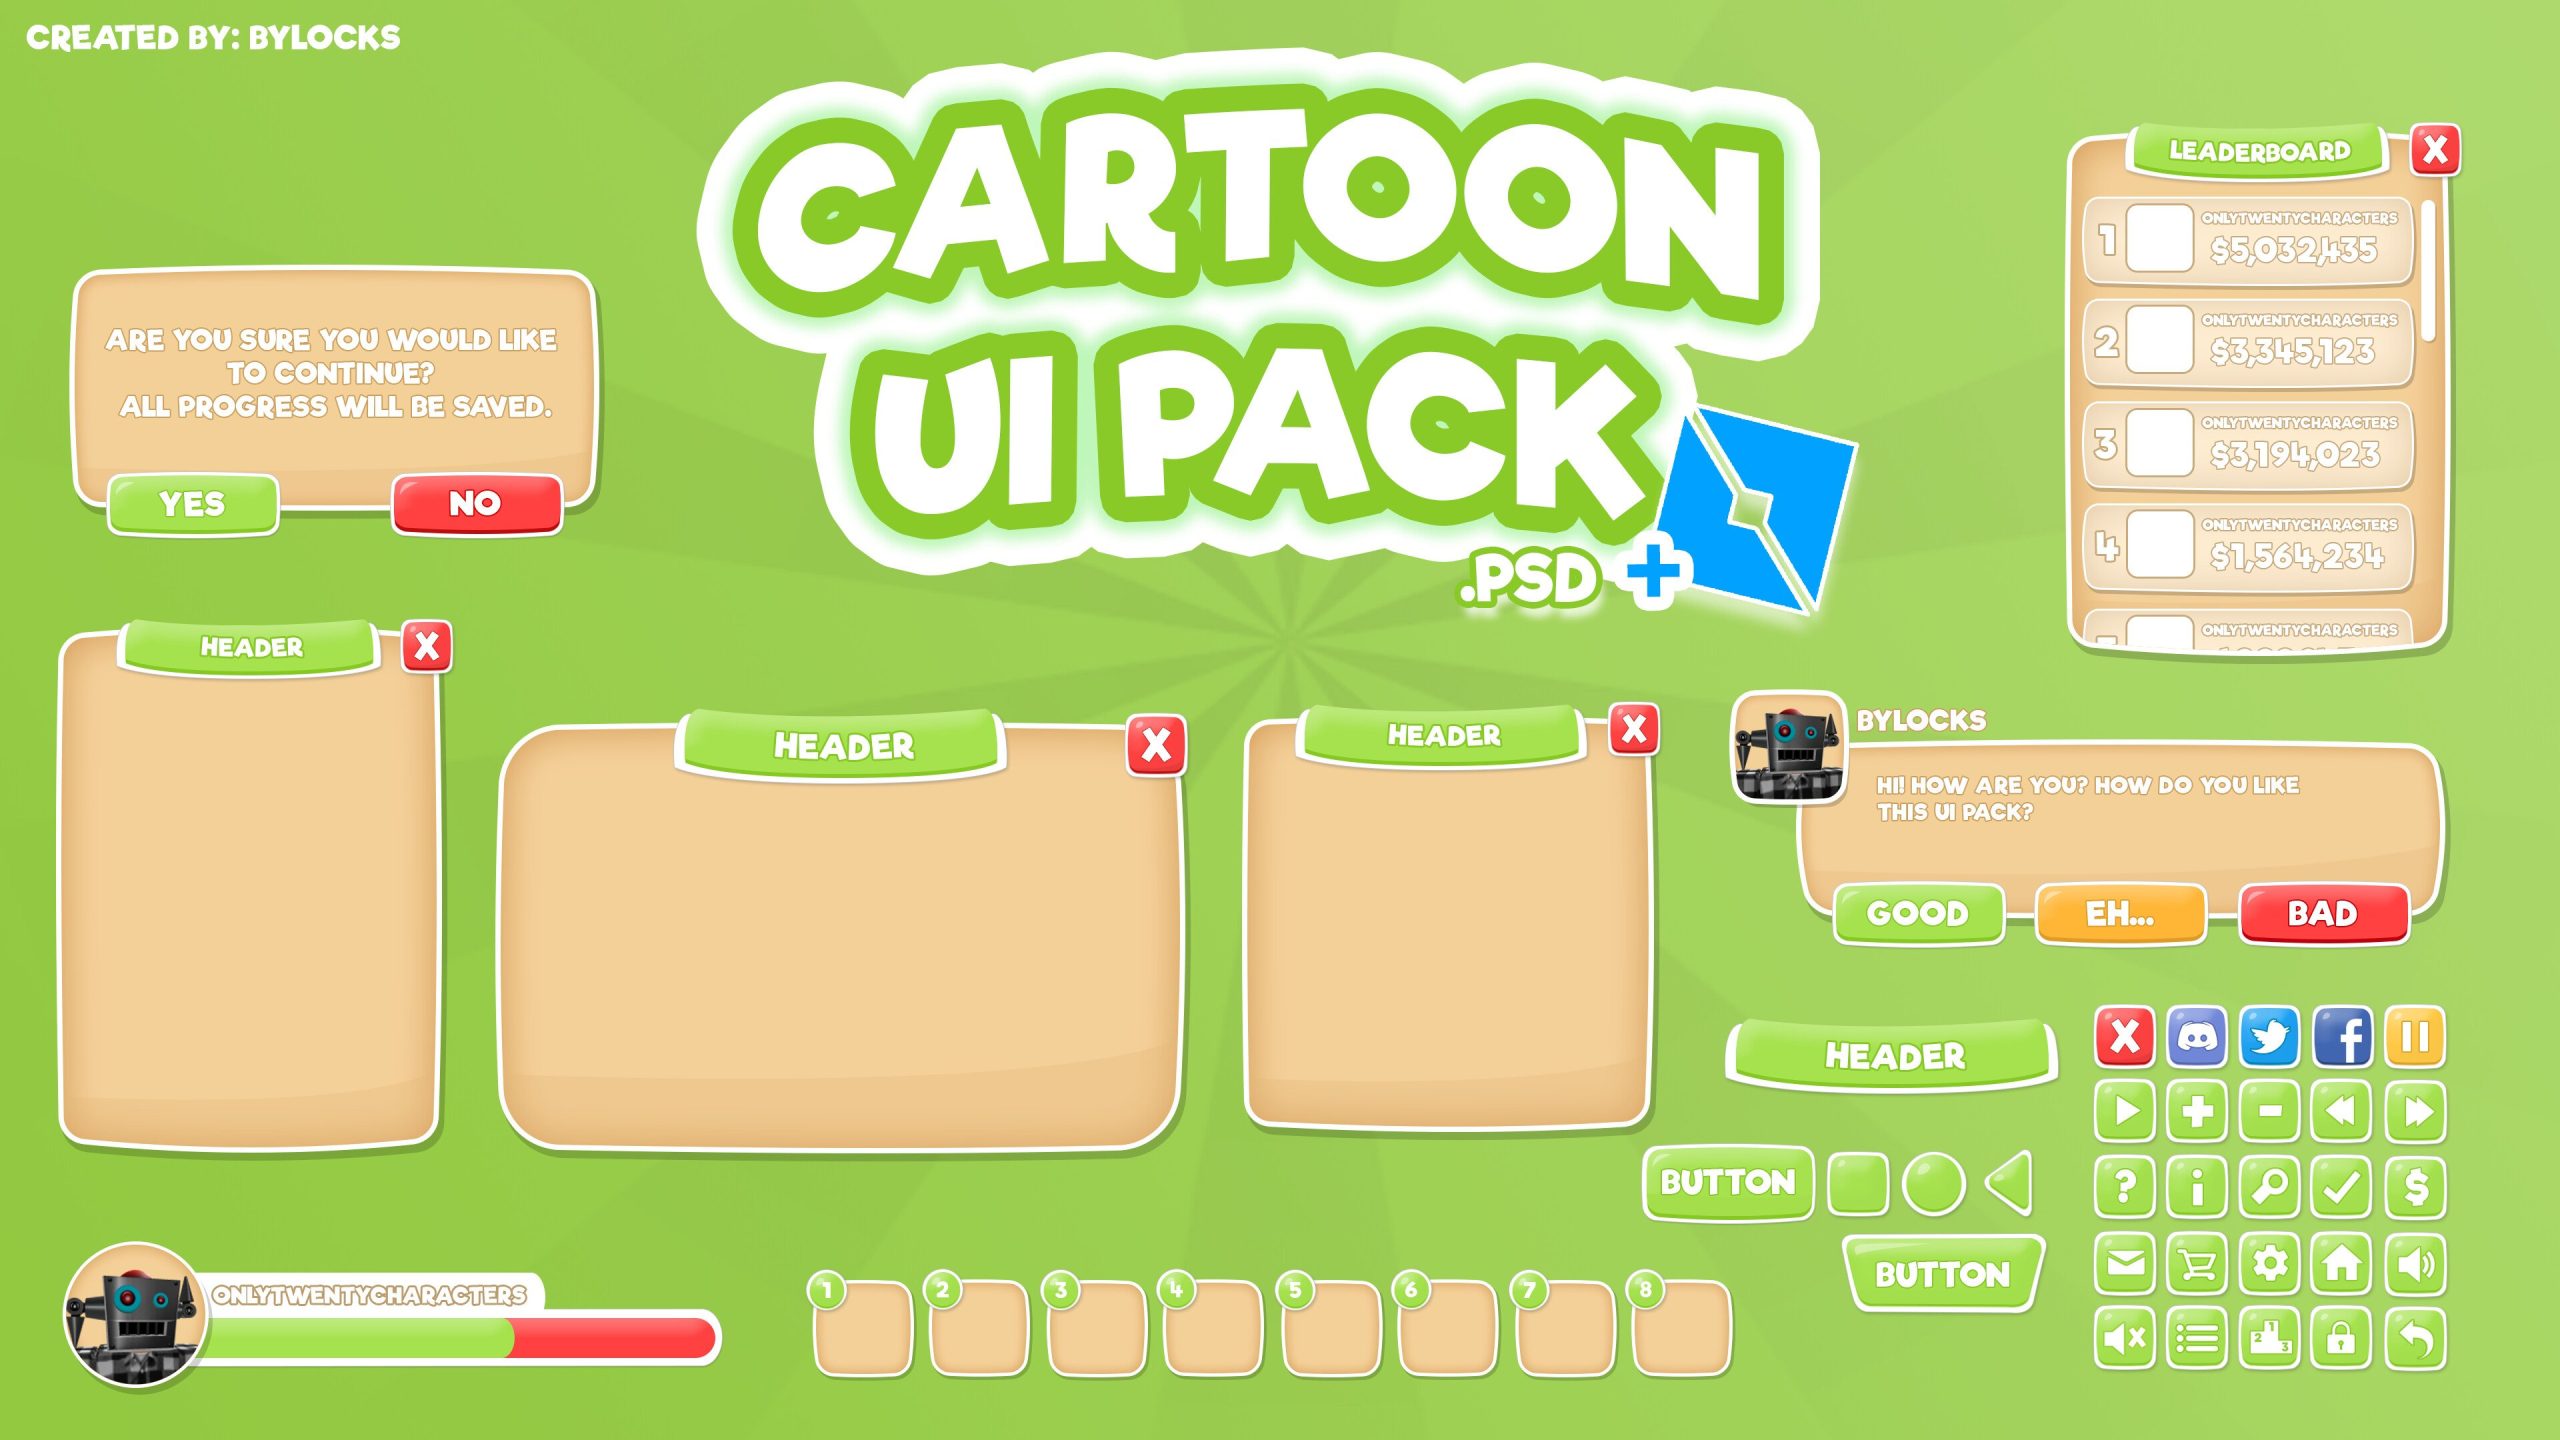
Animating a Roblox user interface involves utilizing tweens and other scripting techniques to smoothly transition UI elements, creating a more engaging player experience.
Have you ever noticed how some Roblox games have such polished menus and interactive screens? That’s often due to skillful implementation of roblox user interface animation. It really makes a big difference in how a game feels and the overall player perception.
Without these animations, games can feel clunky and unresponsive. Using simple techniques, you can achieve smooth transitions and dynamic effects. Adding these animations is not overly complicated and improves the quality of your game.

Roblox User Interface Animation: Bringing Your Games to Life
Have you ever played a Roblox game and been amazed by how smooth and cool the menus and buttons look? That’s the magic of user interface (UI) animation! It’s what makes the game feel alive and responsive. Instead of just having static buttons and text, UI animation adds movement and makes your game more engaging and fun to play. In this section, we’re going to explore how you can add those very cool effects to your own Roblox games. It’s like giving your game a personality! Let’s get started and learn how to create amazing UI animations.
Understanding the Basics of Roblox UI
Before we jump into making things move, let’s get comfortable with the basics. Roblox uses a system called “ScreenGuis” and “Frames” to create the user interface. Think of a ScreenGui as a canvas that appears on the player’s screen. Inside the ScreenGui, you’ll find Frames, TextLabels, ImageLabels, and Buttons, which are the building blocks of your interface. You can place these elements anywhere you like and even use images and custom fonts to make them look unique. It’s like building with digital Lego bricks!
Key UI Elements:
- ScreenGui: The canvas that holds all your UI elements. It’s like the window for your game’s interface. You need this to show your game’s user interface on the player’s screen.
- Frame: A container that groups other UI elements. It’s useful for organizing and styling elements together. Imagine it as a folder on your computer to organize your game UI.
- TextLabel: Used to display text. This could be anything from a title to a score counter. It’s like writing on a digital piece of paper in the game.
- ImageLabel: Shows images or icons. These can add visual appeal and can be used for buttons or other decorative elements. It’s like pasting a sticker on your digital page.
- TextButton: A clickable button with text. Players use these to interact with the game. It’s like a real-life button, but digital.
- ImageButton: A clickable button with an image or icon. You can use it for menus and special actions.
It is important to understand how to position and size these elements correctly within your game. You can change their properties (like position, size, color) in the Roblox Studio to get them exactly how you want. Make sure your elements are not too big or small for different screen sizes, so that the user can easily use the game interface in different devices.
The Power of Tweening
The main method for animating UI in Roblox is using something called “Tweening.” Tweening is like drawing intermediate frames between two keyframes in animation. It allows you to smoothly move, scale, rotate, or change the appearance of a UI element over a specific period. Think of it like telling your game: “Move this button from here to there in one second.” Instead of just teleporting the button instantly, tweening makes it slide nicely across the screen.
How Tweening Works
When you use tweening, you specify:
- The UI Element: The specific element you want to animate.
- The Goal: The final property values you want the element to have (like its new position, size, or transparency).
- The Time: How long the animation should take.
- Easing Style: How the animation speeds up or slows down during its duration.
Tweening is a very good approach to add smooth animations and make your game feel professionally designed. It also give a sense of interaction and feedback with player’s input.
Tweening Properties: What You Can Animate
With tweening, you can animate many properties of UI elements. Here are a few of the most common ones:
Commonly Animated UI Properties
- Position: Moving elements around the screen. You can create animations where elements slide in from off-screen, go to different place, etc.
- Size: Changing the size of elements. You can make elements grow bigger or shrink smaller, good for adding emphasis on specific UI elements.
- Transparency: Making elements fade in or out, which you can use for transitions or displaying messages.
- Rotation: Spinning elements around, can be used to add some exciting and engaging animation style.
- BackgroundColor3: Changing the background color of elements.
- TextColor3: Changing text color.
By animating these properties, you can make the UI appear dynamic and interesting. You are not limited to only these, but these are commonly used in UI animation.
Getting Started with TweenService in Roblox
To use tweening in Roblox, you’ll need to use something called the “TweenService.” TweenService is a built-in Roblox service that does the hard work of making your animations smooth and clean. Here’s a simple example of how to use it:
Example Tweening Code
-- Get the TweenService
local TweenService = game:GetService("TweenService")

-- Get the UI element you want to animate
local frame = script.Parent.Frame -- Assuming the Frame is a child of the script

-- Define the goal properties
local goal = {
    Position = UDim2.new(0.5, 0, 0.5, 0), -- Move to center of the screen
    BackgroundColor3 = Color3.fromRGB(255, 0, 0), -- Change color to red
    Size = UDim2.new(0.5, 0, 0.2, 0) -- Make it bigger
}

-- Define the animation properties
local tweenInfo = TweenInfo.new(
    1, -- Duration in seconds
    Enum.EasingStyle.Quad, -- Easing Style
    Enum.EasingDirection.Out, -- Easing Direction
    0, -- Repeat count
    false, -- Reverse
    0 -- Delay time
)

-- Create the tween animation
local tween = TweenService:Create(frame, tweenInfo, goal)

-- Play the animation
tween:Play()
In this code snippet:
- We get the TweenService and the UI element we want to animate.
- We define the goal properties we want to achieve, such as position, size, and color.
- We create a TweenInfo object that specifies how the animation should behave, including the duration, easing style, and other properties.
- We use TweenService:Create() to create a tween animation.
- Finally, we call tween:Play() to start the animation.
This is just a simple example; you can get creative and make complex animations with this technique.
Easing Styles: Adding Personality to Your Animations
Easing styles are what make animations feel natural and smooth. They determine how the animation accelerates and decelerates during its duration. Instead of starting and stopping abruptly, with easing styles, the animations start slow and speed up, or start fast and slow down towards the end. Roblox offers different easing styles for your animation, like:
Common Easing Styles
- Linear: The animation moves at a constant speed, like a robot. Not natural feeling.
- Quad: The animation starts slowly and speeds up, or starts fast and slows down. Very commonly used in game UI.
- Cubic: Similar to Quad, but with more gradual changes in speed.
- Quart: An even stronger version of Quad with more pronounced acceleration/deceleration.
- Quint: Another more pronounced version of Quad with more acceleration/deceleration.
- Sine: Creates a smooth, wave-like animation.
- Back: Creates a slight overshoot effect before settling into the final position. Very good to add a playful feel.
- Elastic: Creates a springy, bouncy animation. Good for making engaging buttons.
- Bounce: Creates a bouncy effect, like a ball bouncing.
Experiment with different easing styles to get the best effect for your animation. You can check which one you like best, it’s always a good idea to have some fun while designing the games.
Animating Buttons and Menus
Let’s see how you can use tweening to create common UI animations. For example, you can make buttons pulse, menu panels slide in, or text fade in and out. Here are a few examples:
Button Hover Effects
You can make buttons enlarge or change color when the player hovers their mouse over them.
local button = script.Parent
local TweenService = game:GetService("TweenService")

button.MouseEnter:Connect(function()
    local hoverGoal = { Size = UDim2.new(button.Size.X.Scale + 0.05, 0, button.Size.Y.Scale + 0.05, 0) }
    local hoverTweenInfo = TweenInfo.new(0.15, Enum.EasingStyle.Quad, Enum.EasingDirection.Out)
    local hoverTween = TweenService:Create(button, hoverTweenInfo, hoverGoal)
    hoverTween:Play()
end)

button.MouseLeave:Connect(function()
    local leaveGoal = { Size = UDim2.new(button.Size.X.Scale - 0.05, 0, button.Size.Y.Scale - 0.05, 0) }
    local leaveTweenInfo = TweenInfo.new(0.15, Enum.EasingStyle.Quad, Enum.EasingDirection.Out)
    local leaveTween = TweenService:Create(button, leaveTweenInfo, leaveGoal)
    leaveTween:Play()
end)
This code makes the button grow slightly when the mouse is over it and shrink when the mouse is moved away.
Slide-In Menus
You can create menus that slide into view from off-screen, like from top to down, or right to left.
local menuFrame = script.Parent.MenuFrame
local TweenService = game:GetService("TweenService")

local function slideIn()
    menuFrame.Position = UDim2.new(1, 0, 0, 0)
    local slideInGoal = { Position = UDim2.new(0, 0, 0, 0) }
    local slideInTweenInfo = TweenInfo.new(0.3, Enum.EasingStyle.Quad, Enum.EasingDirection.Out)
    local slideInTween = TweenService:Create(menuFrame, slideInTweenInfo, slideInGoal)
    slideInTween:Play()
end

local function slideOut()
  local slideOutGoal = { Position = UDim2.new(1, 0, 0, 0) }
  local slideOutTweenInfo = TweenInfo.new(0.3, Enum.EasingStyle.Quad, Enum.EasingDirection.Out)
  local slideOutTween = TweenService:Create(menuFrame, slideOutTweenInfo, slideOutGoal)
  slideOutTween:Play()
end


-- Example button to slide the menu out.
local slideOutButton = script.Parent.SlideOutButton
slideOutButton.MouseButton1Click:Connect(slideOut)

-- Example button to slide the menu in.
local slideInButton = script.Parent.SlideInButton
slideInButton.MouseButton1Click:Connect(slideIn)
This code makes the menu slide in from the right side of the screen. To slide out, we can add another function and button to move it back to the side.
Fade-In/Fade-Out Effects
You can make elements appear or disappear by changing their transparency.
local textLabel = script.Parent.TextLabel
local TweenService = game:GetService("TweenService")

local function fadeIn()
    textLabel.Transparency = 1
    local fadeInGoal = { Transparency = 0 }
    local fadeInTweenInfo = TweenInfo.new(0.5, Enum.EasingStyle.Quad, Enum.EasingDirection.Out)
    local fadeInTween = TweenService:Create(textLabel, fadeInTweenInfo, fadeInGoal)
    fadeInTween:Play()
end

local function fadeOut()
    local fadeOutGoal = { Transparency = 1 }
    local fadeOutTweenInfo = TweenInfo.new(0.5, Enum.EasingStyle.Quad, Enum.EasingDirection.Out)
    local fadeOutTween = TweenService:Create(textLabel, fadeOutTweenInfo, fadeOutGoal)
    fadeOutTween:Play()
end

-- Example button to fade in text
local fadeInButton = script.Parent.FadeInButton
fadeInButton.MouseButton1Click:Connect(fadeIn)

-- Example button to fade out text
local fadeOutButton = script.Parent.FadeOutButton
fadeOutButton.MouseButton1Click:Connect(fadeOut)
This code makes the text label fade in and out when the respective buttons are clicked. It gives the users an engaging feel for the game.
Best Practices for UI Animation
While UI animation can make your game look great, there are some things to keep in mind:
- Keep it Simple: Don’t go overboard with animations. Too much movement can be distracting. Simple, smooth animations are often the most effective.
- Be Consistent: Use the same animation style throughout your game to keep it looking professional. If you make one animation ease-out, keep the style consistency.
- Test on Different Devices: Make sure your animations look good on different screen sizes. Make sure the animations feel and work well on different platforms like desktop, mobile, and tablets.
- Don’t Slow Down the Game: Avoid using too many complicated animations. Always prioritize performance and try to optimize your UI elements.
- User Experience is key: Ensure animations are not too long or disruptive. They should be a part of positive experience, not a hurdle.
By following these tips, you can make sure your UI animations improve the overall gameplay experience.
Advanced Techniques
Once you’ve mastered the basics, you can start experimenting with more advanced techniques. For example, you could try:
Chaining Animations
Use animation to play one after the other and create more complicated movements. You can make one animation play when another one finishes.
Using Events
Trigger animations using different events (e.g. when a player clicks a button, when a player picks something up, when the game starts etc.)
Custom Easing Functions
You can create your own easing functions if the built-in ones are not enough.
These methods let you create very interesting UI effects which you normally don’t see in most of the Roblox game.
Tools and Resources
There are many resources available to help you with UI animation in Roblox:
- Roblox Developer Hub: The official documentation has very useful information on TweenService and other related functions.
- YouTube Tutorials: Many creators share helpful tutorials on UI design and animation.
- Community Forums: Roblox forums can be a great place to ask questions and find solutions.
- Plugin for Roblox Studio: Some plugins are available to help with animation. They make the design process a bit faster.
Explore these resources to learn more and enhance your knowledge of UI animation.
Adding animation to your Roblox user interface can greatly improve the user experience and make your games more fun and interesting. With some practice, you can create professional and engaging UIs that will leave a great impression on players. By using TweenService and other related methods, you can add life to your buttons, menus, and other interface elements. Remember to always follow the best practices and keep in mind the player’s experience. Keep exploring, have fun, and create some amazing animations!
Easing Styles
Final Thoughts
In short, effective Roblox user interface animation significantly improves player engagement. Thoughtful transitions and feedback guide users intuitively through your game. Good animation makes interfaces feel polished and responsive.
Implementing smooth animations provides a better overall user experience. Remember to keep animations concise and relevant to their function, this improves clarity and usability. Therefore, animation is key for excellent Roblox user interface animation.

