To add in game shop in your Minecraft server, you’ll need a plugin like EssentialsX or a dedicated shop plugin, which you install on your server and configure to manage items, pricing, and player transactions.
Ever wanted to sell that rare diamond you mined or buy some useful potions without leaving your server? You absolutely can! This process can greatly improve the economy within your Minecraft world. Adding an in-game shop provides a fun way for players to trade resources and enhance their gameplay experience.
The real question is, how to add in game shop in minecraft server that actually works well? This is where plugins come into play. They let you set prices, manage stock, and make trading on your server simple. Lets explore more on how you can implement one!

How to Add an In-Game Shop to Your Minecraft Server
Setting up an in-game shop on your Minecraft server is a fantastic way to keep players engaged, provide a sense of progression, and even help offset server costs. It allows players to spend the resources they’ve gathered or earned, creating a more rewarding gameplay loop. Let’s dive into how you can make this happen on your server.
Understanding the Basics of Minecraft Server Shops
Before we get into the technical details, it’s good to understand what a Minecraft in-game shop actually is. Think of it as a virtual marketplace within your server. Players can buy and sell items using in-game currency, which could be anything from emeralds to custom-created coins managed by plugins. These shops often utilize command blocks, chest shops, or dedicated shop plugins. This enhances the player experience by offering a way to trade and acquire valuable items in a structured manner.
Types of In-Game Shops
There are a few different ways to create a shop, each with its own set of benefits:
- Command Block Shops: These are the most basic. You set up command blocks with specific commands to give or take items based on specific payments. They are simple to set up but can be limited in features.
- Chest Shops: These use signs attached to chests to create a player-to-player trading system. When a player clicks on the sign, the transaction happens. This provides a more interactive shop experience and encourages player interaction.
- Plugin-Based Shops: These are the most flexible and offer the most features. Plugins often provide a GUI (graphical user interface) for a better user experience. They also can handle complicated economic systems and various types of transactions.
Choosing the Right Shop Type for Your Server
The best shop type for your server depends on what you’re trying to achieve and your technical skills.
Considerations When Choosing Shop Type:
- Server Size: For small servers or beginners, command block shops or simple chest shops might be sufficient. For bigger servers with a large number of players and more complex requirements, plugins are preferable.
- Technical Skill Level: If you’re new to Minecraft server administration, command blocks or user-friendly shop plugins are easier to start with. Advanced users can use plugins with complex configuration options.
- Desired Features: If you just need basic buy and sell capabilities, simple shops will do. If you need features like auctions, admin shops, or custom currency support, you’ll need plugins.
Setting up a Command Block Shop
Command block shops are the easiest to start with if you are running a vanilla Minecraft server or have very few plugins installed. They do not need any extra plugin or install, as command blocks are already integrated into vanilla Minecraft. They’re a good place to start if you’re a beginner but can become cumbersome for more complex transactions.
Creating the Shop Structure
- Enable Command Blocks: Make sure command blocks are enabled on your server in the server.properties file by setting enable-command-block=true.
- Obtain a Command Block: In-game, type /give @p minecraft:command_block to get a command block.
- Place the Command Block: Place the command block where you want your shop.
Configuring the Command Block
The trick here is to create commands that give items and remove currency. You’ll use /give, /clear, or similar commands.
Example: Selling a Diamond Pickaxe for 5 Emeralds
- The Command:
Inside the command block, input the following command:
/clear @p minecraft:emerald 5
(This clears 5 emeralds from the player’s inventory). - Set the Command Block Type: Set the command block type to “Impulse,” which will cause it to activate only once when powered and “Needs Redstone”
- Add another Command Block (If you need): Add another command block after first one. set the second command block on “Chain” mode, and it will be always active when first command block is active and “Always Active”
- The Command:
Inside the second command block, input the following command:
/give @p minecraft:diamond_pickaxe 1
(This gives the player a diamond pickaxe). - Redstone Activation: Put a button or lever next to the first command block so players can activate it by clicking.
Important Considerations:
- Adjust the /clear command based on the currency you want to use, and quantity you need to set up.
- Make sure that your clear command targets correctly. We use @p to target nearest player. Be careful when changing targeting.
- Be mindful of item IDs and quantities when using the /give command.
Limitations of Command Block Shops
- Limited Features: Command blocks are not designed for complex trading systems. They lack features like item listing, quantity selection, and admin control.
- User Experience: The shop interface is not very user-friendly, as it is just a button or lever which can cause confusion for players.
- Scalability: As your shop needs grow, using command blocks can become too time-consuming and difficult to manage.
Setting Up a Chest Shop
Chest shops offer a more interactive way to trade and are great for player-to-player economies.
What is a Chest Shop?
Chest shops rely on using signs and chests to automate buying and selling. Players can set up their own shops by placing a chest and a sign, specifying the item they’re selling, the quantity, and the price.
Plugin Requirement
To set up chest shops, you will need a plugin that supports this functionality. Popular options include:
- ChestShop: A very popular and widely used chest shop plugin.
- QuickShop: A fast and efficient alternative to ChestShop.
Install one of these plugins on your server and follow the plugin instructions.
Creating a Chest Shop (General Steps)
The exact steps may vary depending on the specific plugin, but generally it will be like this:
- Place a Chest: Put a chest where you want your shop to be.
- Place a Sign: Place a sign on the front face of the chest (or just above it, depending on the plugin).
- Write on the Sign:
- The first line should be blank or contain something like a shop name (it will be auto-populated by plugin in most cases).
- The second line should be the amount of the item to be sold.
- The third line should be ‘B’ for buying or ‘S’ for selling, with the price. For example, B 10 or S 5 for buying and selling at 10 or 5 currency.
- The last line of the sign should be the item id you want to sell. For Example minecraft:diamond for diamond. Or it could be auto-populated by the plugin by keeping it blank.
- Stock the Chest: Add items to the chest that you intend to sell.
Important Considerations:
- Make sure you follow your plugin instructions exactly. Every plugin can have a different way to create shops.
- Give your players clear instructions on how to set up and use chest shops.
- Consider server plugins to limit shop locations to prevent griefing, or other harmful actions.
Benefits of Chest Shops
- User Interaction: Chest shops are much more interactive than command block shops, giving players a sense of trading between them.
- Player Economy: Chest shops promote player-driven economics, which adds depth to the server gameplay.
- Flexibility: Chest shops give players a lot of flexibility in what they sell, and at what price they sell those items.
Setting Up an In-Game Shop with Plugins
Shop plugins provide the most features and options for your server. They often include graphical user interfaces (GUIs), advanced permission systems, and even the ability to create custom currency.
Choosing the Right Plugin
Many different shop plugins exist, each with its unique strengths. Here are a few popular ones:
- EssentialsX Economy: As part of the popular EssentialsX plugin suite, this provides basic economy and shop functionality.
- ShopGUIPlus: A very popular plugin that provides a very clean and customizable shop GUI.
- CrazyAuctions: This plugin will allow you to create auction systems, where players can bid for items.
- AdminShop: A plugin that allows admins to create and manage shop, and it usually comes along with different shop plugins.
General Plugin Setup
The setup process varies from plugin to plugin, but here’s a general overview:
- Install the Plugin: Place the downloaded plugin .jar file into your server’s plugins folder.
- Restart the Server: Restart the server to load the new plugin.
- Configure the Plugin: Edit the plugin’s configuration file (config.yml or similar). Most plugins have well-commented configuration files with detailed options and settings.
- Set Permissions: Set up plugin permissions using a permission plugin. Allow only those players to access the shop who are permitted to access it.
- Create Shop Categories: Most plugins let you create categories for items. Group your items to improve shop layout and user experience.
- Add Shop Items: Now you can add items to your shop, along with their prices. This is often done using in-game commands or by editing configuration files.
Shop Interface and Usage
Plugin-based shops often use menus that players can open with a command or by interacting with an NPC (Non-Player Character). These interfaces usually feature:
- Item Listings: A clear display of items for sale with details like names, descriptions, and prices.
- Currency Display: The player’s current balance is visible on the screen.
- Category Navigation: Players can move between shop categories.
- Buy/Sell Options: Clear options to buy and sell, usually involving a simple click.
Example with ShopGUIPlus
Let’s take ShopGUIPlus as an example. After installing the plugin, you would usually configure the settings for your currency, open the shop with the /shop command. You can add items using /shop createitem or edit the shop menu manually via the config file. Most of the time you will see that the shop is very user-friendly and easy to setup with a lot of customization options. You can add as many categories as you want, and you can add items in those categories.
Benefits of Using Shop Plugins
- Advanced Features: Plugins provide features like GUIs, custom currency, and complex shop management.
- User Experience: They often offer a far superior user experience than basic shops.
- Scalability: Plugin-based shops are much easier to scale and manage than command block or chest shops.
Currency Management on your Minecraft server
A key part of any in-game shop is your currency. You can use existing items or set up a custom system using plugins.
Using Existing Items as Currency
Emeralds are a popular vanilla item to use as currency, as they are easily obtainable and tradeable. You can use other vanilla items as currency if you like but they should be somewhat rare to make the currency worthy and give a sense of progression in the game.
Considerations:
- Make sure your currency is not very easily obtainable to not flood the economy.
- Set the prices of the items in your shop accordingly so players are incentivized to engage in mining or other activities to obtain currency.
Setting Up a Custom Currency with Plugins
Most shop plugins offer support for custom currencies, often integrating with an economy plugin like EssentialsX or Vault. Setting up a custom currency with plugins provides lots of customization and integration for server administration.
Steps:
- Install an Economy Plugin: Install an economy plugin like EssentialsX or Vault.
- Configure the Plugin: Set up your custom currency name, initial balance for players, and any required parameters in the config file.
- Set Shop Prices: Now you can use your custom currency to set the prices of items in your shop.
Benefits of Custom Currency
- Flexibility: You have full control over how currency works on your server.
- Customization: You can create currency that is specific to your server’s theme and gameplay.
- Balance: You have more control over the economy of the server.
Ensuring Shop Security
It’s important to make sure your shop is secure and not easy to exploit or grief. Here are some important considerations to increase your shop’s security.
Protecting Shops from Griefing
Make sure that you protect the areas where you have placed your shops by using plugins that protect the world. You should consider using:
- WorldGuard: This is a popular plugin to protect the world from griefing and other malicious actions.
- PlotSquared: This plugin allows players to make their own plots and protect them from other players.
- GriefPrevention: This plugin gives players a claim that they can use to protect their shop from other players.
Preventing Exploits
Make sure you test the shop thoroughly after setting it up. Some other tips to prevent any exploits can be:
- Regular Testing: Always test the shop thoroughly to find and fix any potential bugs or exploits.
- Plugin Updates: Keep all your plugins updated to make sure that you are on the most updated version that prevents exploits.
- Permission Management: Control who has access to shop creation or administration using permission plugins.
Tips for a Successful In-Game Shop
Setting up the shop is only the start. Here are some tips for making your shop a real hit:
Design and Organization
- Logical Layout: Organize items into categories to help players find what they want.
- Clear Descriptions: Provide clear item names and descriptions.
- Appealing Interface: Try to use plugins that provides very clear and beautiful GUIs.
Item Pricing
- Fair Pricing: Don’t overprice items or make it impossible for players to earn shop currency.
- Monitor Prices: Watch the economy and adjust prices when necessary to prevent issues and maintain a balanced economic system.
Promote Your Shop
- In-Game Announcements: Advertise your shop to players in the chat.
- Shop Events: Host special events where players can buy discounted items or special promotions to draw attention.
- Community Feedback: Encourage players to provide feedback on your shop to improve it over time.
Troubleshooting Common Issues
Sometimes, things can go wrong. Here are some common problems and their solutions:
Shop Not Working
Problem: The shop isn’t working correctly.
Solutions:
- Check Commands: Make sure the commands are written correctly in your command blocks.
- Plugin Issues: Verify that your plugins are correctly installed, enabled, and configured.
- Restart Server: Restart your server, sometimes simply doing this fixes many issues.
Economy Problems
Problem: There are issues with your currency or item prices.
Solutions:
- Adjust Prices: Tweak prices to make them more affordable and balanced.
- Currency Issues: Verify that your currency is set up correctly in your plugin settings.
Security Concerns
Problem: Shops are being griefed or exploited.
Solutions:
- World Protection: Install a protection plugin to prevent griefing.
- Plugin Configuration: Review your plugin configuration for any security vulnerabilities.
Setting up an in-game shop on your Minecraft server is a fantastic way to enhance player engagement and create a dynamic environment. Whether you choose command blocks, chest shops, or a full-fledged shop plugin, it offers players new ways to interact and progress within your server. Remember to plan your shop, manage your economy carefully, and constantly look for ways to improve based on player feedback. By following the guides provided and taking your time to plan and set the shop, your in-game shop can become an engaging aspect of your server.
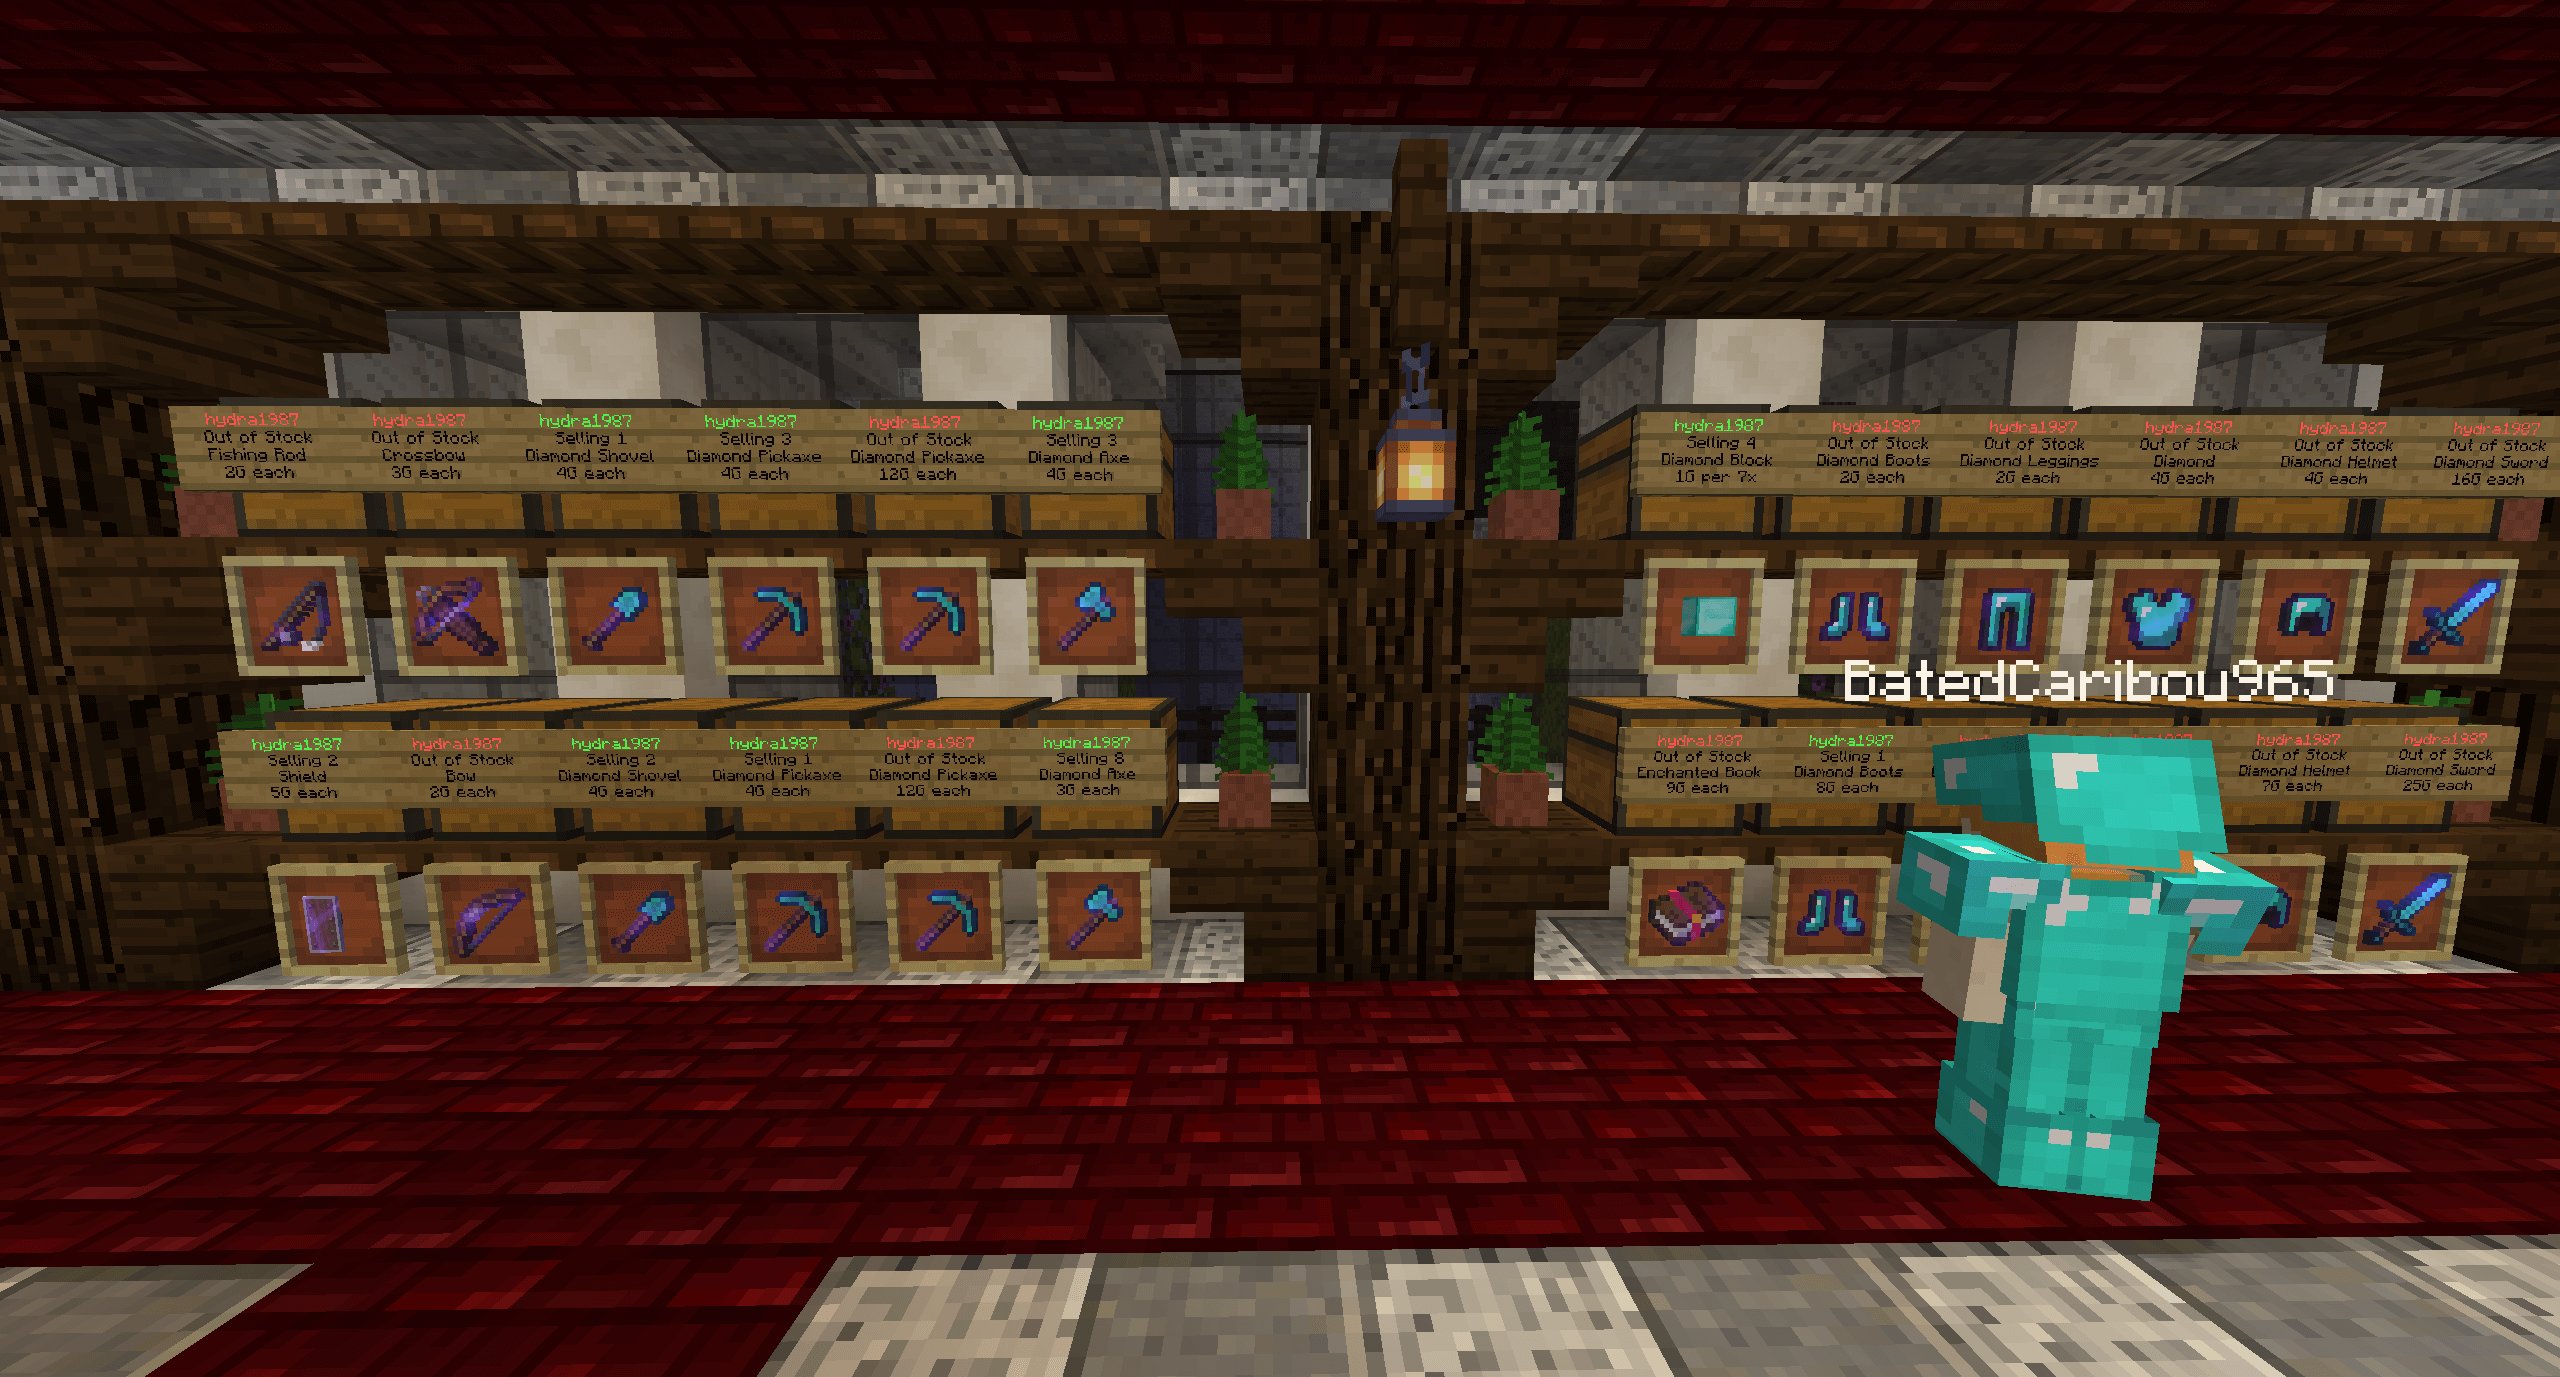
Shop GUI Plugin – EconomyShopGUI
Final Thoughts
Adding an in-game shop involves plugins like EssentialsX or dedicated shop plugins. These plugins allow you to create virtual shops with item listings. Players use in-game currency to purchase items. Configure your plugin correctly for smooth transactions.
You need to establish a currency system using a compatible plugin. Once done, assign prices to items in the shop interface. Players can then use commands or interact with GUIs to buy. Remember testing your setup is vital.
Therefore, learning how to add in game shop in minecraft server requires plugin installation, currency system setup and careful item pricing. Proper configuration is key to a working shop.

