
Team Create in Roblox Studio lets multiple developers work on the same project simultaneously. You enable it through the “View” tab and then invite collaborators.
Working together on a game can be incredibly fun and efficient. Knowing how to use roblox studio team create is essential for collaborative development. This feature allows you and your friends, or colleagues, to build amazing worlds. It makes the creative process so much smoother.

How to Use Roblox Studio Team Create
Have you ever wanted to build a super cool Roblox game with your friends? Team Create in Roblox Studio lets you do just that! It’s like having a giant Lego set where everyone can build together at the same time. This guide will show you exactly how it works, step-by-step.
What is Team Create?
Team Create is a special feature in Roblox Studio that allows multiple people to work on the same game at the same time. Think of it like a shared document where everyone can add their own parts, scripts, and ideas. This makes building big, awesome games much easier and faster.
Why Use Team Create?
Working alone can be fun, but sometimes you need help. Team Create is great for several reasons. It lets you collaborate with friends, making projects much more exciting. You can share the work and finish bigger projects quicker. Plus, everyone can learn from each other by seeing how others build things.
Setting Up Team Create
Starting a New Game
To begin, open Roblox Studio. If you’re starting a new game, select a template like “Baseplate” or “Classic Baseplate”. This gives you a blank canvas to build on.
Enabling Team Create
After opening the baseplate or any template, go to the “View” tab at the top of Roblox Studio. In the “View” tab, look for and click on the “Team Create” button. A pop-up window will appear. Now you have to click on the “Turn On” Button in the Pop-Up window. This will enable team create.
Roblox Studio will ask if you want to publish the game first. You need to publish your game to enable team create. Click “Yes” to proceed to publish the game. After publishing the game, Team Create will activate.
Setting Game Permissions
When enabling team create, you need to make sure that, who can edit this game, set this to Friends or Public based on your preferences.
Inviting Your Friends
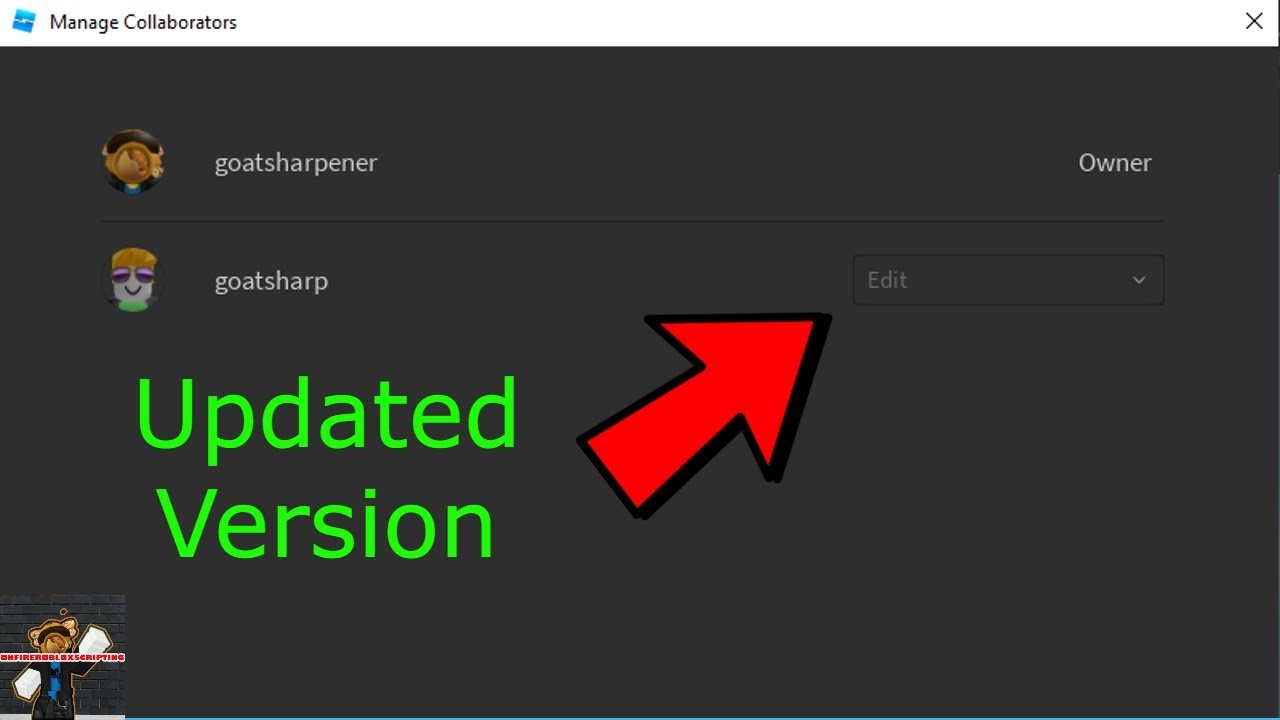
Once team create is enabled, you will see a button with three dots (…). Click on it and then click on “Collaborate”.
In the Collaborate window, you will see a list of your friends. Click the “Invite” button next to the friends you want to work with. They will receive an invitation to join your team create session.
Managing Team Access
You can always add or remove people from your team anytime. Go back to the collaborate window if you need to adjust the list of people who can edit your game. You can also change their permissions; for instance, you can make someone just a viewer instead of an editor. This helps to keep your game safe and allows to collaborate according to the project needs.
Navigating Team Create
Understanding the Interface
The interface in Team Create looks mostly the same as regular Roblox Studio. The main difference is that you’ll see other players’ avatars in the 3D view. You can see them building in real-time! It also shows on the top-right of the Roblox Studio with a player count for example, 2/3 or 3/5 means you have 2 player in the team out of total of 3 or 3 player out of total of 5.
Using the Chat
Team Create has a chat window. Use this to communicate with your teammates. You can discuss ideas, give each other feedback, or even just say hello! It’s a vital tool for collaboration.
Working Simultaneously
Team Create allows multiple people to build simultaneously. This makes the development process more efficient. It allows you to work on different parts of the game at the same time. This is a great way to make better games fast.
However, you need to be careful about not messing with the other players work. Sometimes players may accidentally change parts or scripts others are working on.
Best Practices for Team Create
Planning Ahead
Before jumping in, it helps to plan your game. Decide what you want to build and how you’ll divide the work. This will help your team stay organized and focused.
Clear Communication
Talking with your team is very important. Use the chat feature often. Communicate your ideas, ask for help, and provide feedback to others. This makes for smoother collaboration.
Using Branches
Branches let you experiment with different ideas without messing up the main game. It’s like having a copy of your game where you can try new things. If it does not work, then you can always switch back to the main game, without affecting the main project. This way you avoid breaking the main project if you make any mistakes.
To create a branch, go to the “Team Create” tab and click “Create Branch”. Give it a name that describes what you’re working on. After branching is complete you can work on it.
Committing Changes
After making changes in a branch, you need to “Commit” them. This saves your changes to the main game. Committing also makes sure everyone on the team has the updated version. Remember to commit changes regularly so that you don’t lose your progress.
To commit changes, click on the “Team Create” tab and then click on “Commit”. A window will open where you can write a short description of the changes, then click “Commit” again to save the changes to the main game.
Merging Branches
After committing your changes in a branch, you’ll need to merge them into the main game. This integrates your work with everyone else’s contributions. When a player has committed their changes and feels ready to merge their changes, they have to request a merge. Then team leader will review the changes and then, if needed merge it to the main branch.
To Merge changes, Click the “Team Create” tab, then click on the branch to be merged and click “Request Merge”. Once a merge request is submitted, the leader can review the changes and merge to main game. It’s like putting all the Lego pieces together to complete the set.
Avoiding Conflicts
Sometimes, multiple people might try to change the same thing. This can cause conflicts. Always communicate before making big changes. Try to work on different parts of the game at the same time to minimize the chance of any conflict.
Team Create Roles and Responsibilities
Leader
The leader has special control over the project. They often set the game’s vision and manage the team. They review all changes before they are merged and they resolve any conflicts. The leader role is very important in ensuring that project is moving forward.
Builders
Builders create the structures and landscapes in the game. They can make houses, trees, roads, or anything else you can imagine. They are the people who bring the world to life, making it look great and interesting.
Scripters
Scripters write the code that makes things work in the game. They can make players move, create buttons, or design complex systems. They bring the game to life and make it fun.
Designers
Designers help to plan out the game and give the game a direction. They think about how the game will play and make sure it’s fun and interesting. They’re in charge of the look and feel of the game.
Testers
Testers are very important for improving the game. They play the game and look for bugs and problems. They help make sure everything is working as it should. They also help improve the game by providing feedback from a player’s point of view.
Advanced Tips
Using Plugins
Plugins are extra tools that can help with game development. Some plugins make building faster and easier. Others can help to write code faster. You can explore the Roblox Studio toolbox to see what plugins are available.
Version History
Team Create saves the history of your game. If something goes wrong, you can go back to an earlier version. This is useful if you need to fix a problem or recover deleted items. You can find it at the top of the Roblox Studio near the close button.
Using Templates
You can make templates of the objects you use often. This can save you a lot of time. Instead of building the same object every time, you can just insert a template. This improves efficiency when working with team.
Troubleshooting Team Create
Connection Issues
If you or your teammates are having trouble connecting, check your internet. Also, sometimes closing and reopening Roblox Studio can help. Make sure you and your teammates have good and stable internet connection.
Sync Problems
If your game is not syncing properly, try refreshing the Studio. Sometimes the sync can take some time, so be patient. Also make sure that all players on the team commit changes regularly.
Access Denied
If someone gets an access denied message, make sure they were invited to the team. Also ensure that their permissions are set correctly. The leader of the project should review this issue and resolve.
Team Create in Action
Imagine building a giant castle with your friends. One person can design the walls, while another adds the towers, and another adds the interior. Team Create allows you to work on different parts of the project simultaneously. This makes it faster and more enjoyable to finish projects.
Here are some ideas for projects to try with Team Create:
- Building a role-playing game with different areas.
- Designing an obstacle course (obby).
- Creating a detailed city or town.
- Developing a multiplayer game with many levels.
Team create provides unlimited possibilities. You just need to bring your ideas and your teamwork skills to life.
Team Create opens a world of possibilities for game development. It allows you to build exciting games collaboratively with friends. Remember to plan, communicate, and commit changes regularly. Now it’s time to start building your dream game!
How to Enable Team Create on Roblox Studio – 2024
Final Thoughts
Team Create enhances collaborative building. You invite others to join your Roblox project. Ensure everyone has necessary permissions.
Remember to save often to avoid losing progress. Use the chat function for real-time communication. This shows how to use roblox studio team create. It’s a powerful collaborative tool.

